Dave's Place
Rust Repair
11 Step by Step welding instructions
|
|
Step 1 Start by using the rust repair panel as a template. Be sure all body lines match the original. Temporarily clamp in place. Draw a line at the edge of the panel. (Do not cut on this line) |
Step 2 Make a new mark 1/2 below the first mark you made. This new line will be the line you cut on and will leave room for crimping. |
Step 3 Then, cut away the body panel with a nibbler. 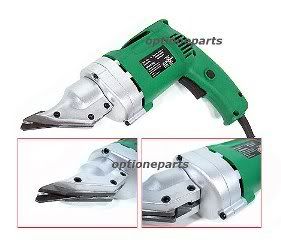 |
Step 4 If the panels do not come away from the body of your vehicle it may still be attached to the body by spot welds. Use a body grinder to locate these spot welds. |
Step 5 Remove the spot welds with a drill. |
Step 6 Use a body grinder to grind 4 inches beyond the cut. |
Step 7 To flange the metal, creating an overlapping joint, use a joggle or crimper to recess the metal (approximately 1/2 inch wide.) |
Step 8 Now you can put your panel in place. Insert removable fasteners or small sheetmetal screws to hold the side panel in position. Before you weld panel, remove primer within two inches of the area to be welded. |
Step 9 To limit warpage, stitchweld in 1- or 1 1/2-inch welds, 6 to 8 inches apart. |
Step 10 Next, grind the high spots or weld beads flush with a body grinder. Avoid using too much pressure. It could cause warpage or heat distortion. Add body filler as needed, sand, prime and paint. |
Step 11 With a proper installation, the rust is gone and the repaired area looks as good as new. |
|
Welding Links
|
|